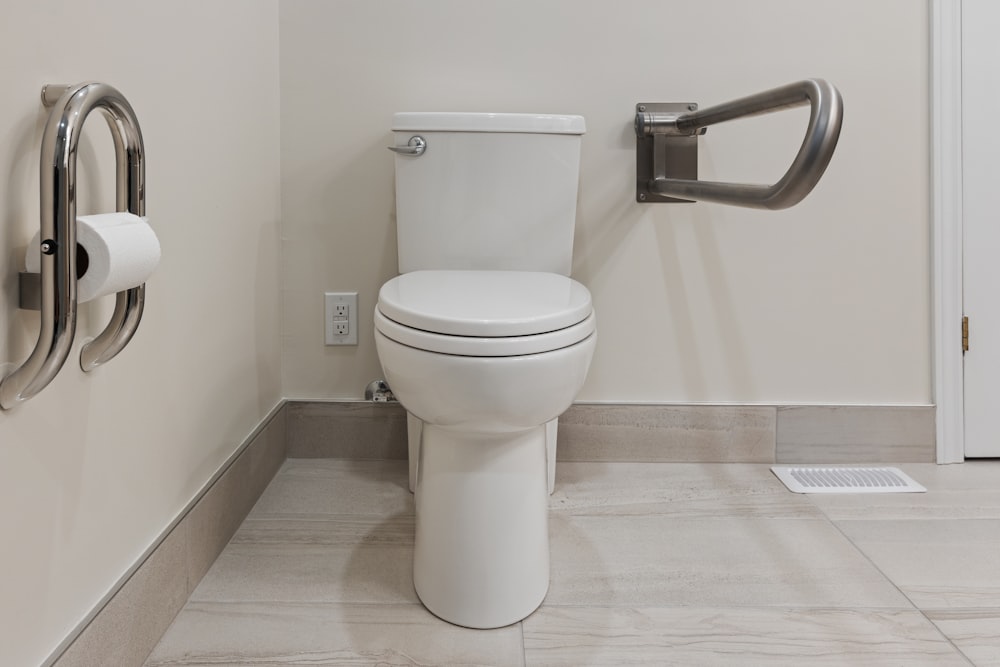
flusher
Upgrade Your Bathroom Toilet Flusher Replacement Guide
Upgrade Your Bathroom: Toilet Flusher Replacement Guide
Understanding the Importance of a Functional Toilet Flusher
In the realm of bathroom fixtures, the toilet flusher often goes unnoticed until it malfunctions. Yet, it plays a vital role in maintaining a hygienic and functional restroom. A malfunctioning flusher can lead to inconvenient clogs, wasted water, and a less-than-pleasant bathroom experience. Recognizing the importance of a functional toilet flusher is the first step towards ensuring a smoothly running bathroom.
Signs It’s Time for a Replacement
Knowing when it’s time to replace your toilet flusher is crucial for preventing potential issues down the line. Some common signs of a failing flusher include weak flushing, constant running water, or difficulty flushing altogether. If you notice any of these signs, it may be time to consider a flusher replacement to restore optimal functionality to your toilet.
Choosing the Right Replacement Flush Handle
When it comes to replacing your toilet flusher, selecting the right replacement handle is essential. Flush handles come in a variety of styles, finishes, and configurations, so it’s essential to choose one that matches your toilet’s design and fits your preferences. Whether you prefer a traditional lever handle or a modern push-button design, selecting a replacement flush handle that complements your bathroom decor is key.
Gathering the Necessary Tools and Materials
Before embarking on a toilet flusher replacement project, it’s essential to gather all the necessary tools and materials. Depending on the type of flusher replacement you choose, you may need a few basic tools such as a screwdriver, adjustable wrench, or pliers. Additionally, be sure to have the replacement flush handle and any accompanying hardware on hand before beginning the installation process.
Step-by-Step Installation Process
Replacing a toilet flusher is a relatively straightforward process that can be completed in just a few simple steps. Begin by turning off the water supply to the toilet and draining the tank to prevent any spills or leaks. Next, remove the old flush handle by loosening the mounting nut or screws that secure it in place. Once the old handle is removed, attach the new flush handle using the provided hardware, ensuring it is securely fastened. Finally, turn the water supply back on and test the flusher to ensure it is functioning correctly.
Troubleshooting Common Issues
While replacing a toilet flusher is typically a straightforward process, there may be instances where issues arise during installation. Common problems include difficulty removing the old flush handle, leaks or drips after installation, or improper flushing after replacement. If you encounter any of these issues, refer to the manufacturer’s instructions or seek assistance from a professional plumber to troubleshoot and resolve the problem.
Maintaining Your New Toilet Flusher
Once your new toilet flusher is installed, proper maintenance is essential to ensure long-term functionality and performance. Regularly inspect the flush handle and accompanying hardware for signs of wear or damage, and replace any worn components as needed. Additionally, periodically check for leaks or drips around the toilet tank and address any issues

